
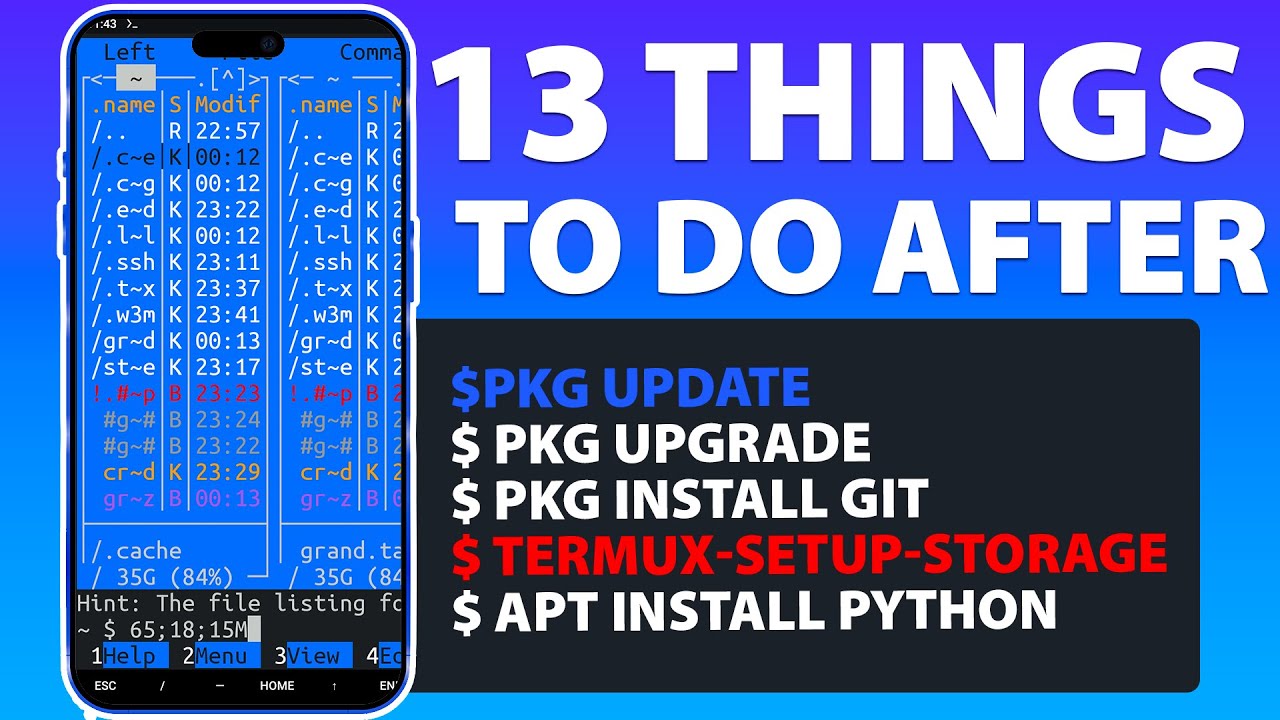
STRATEGY INDEX
- 00:00 - Introduction: The Mobile Command Center
- 00:21 - Step 1: Mastering Package Management - Update & Upgrade Essentials
- 00:41 - Step 2: Bridging the Gap - Setup External Storage Access
- 00:56 - Step 3: Deploying Your Core Toolkit - Essential Package Installations
- 02:14 - Step 4: Gaining Command Line Proficiency - Essential Linux Commands
- 02:35 - Step 5: Your Digital Workbench - Installing Text Editors
- 03:25 - Step 6: Personalizing Your Operations - Customizing Termux
- 05:01 - Step 7: Unlocking Device Hardware - Install Termux:API
- 05:35 - Step 8: Real-time System Monitoring - Manage Processes with Htop
- 05:56 - Step 9: Visualizing the Matrix - Install CMatrix
- 06:14 - Step 10: Navigating the Web from the Terminal - Browse Internet with w3m
- 06:14 - Step 11: Broadening Your Skillset - Install More Programming Languages
- 06:32 - Step 12: Organizing Your Digital Assets - Install a Termux File Manager
- 06:51 - Step 13: Beyond the Command Line - Install a GUI on Termux
Introduction: The Mobile Command Center
Welcome, operative. This dossier details the critical initial steps required after deploying Termux, the versatile terminal emulator and Linux environment for Android. Forget basic setups; we're building a robust mobile command center capable of development, scripting, and advanced system interaction. This guide is your blueprint to transforming a fresh Termux installation into a powerful, personalized tool. Every command, every package, is a strategic deployment. Let's operationalize your Android device.
Step 1: Mastering Package Management - Update & Upgrade Essentials
Before deploying any new software, we must ensure our base system is pristine and up-to-date. This is non-negotiable for security and compatibility. Execute the following commands to refresh your package lists and upgrade all installed packages to their latest stable versions:
pkg update && pkg upgrade -yThe -y flag automatically confirms any prompts, streamlining the process. This ensures you are operating with the most secure and feature-rich versions of your existing software, mitigating potential vulnerabilities.
Step 2: Bridging the Gap - Setup External Storage Access
By default, Termux operates within its own sandboxed storage. To access your device's internal and external storage (e.g., SD card), you need to explicitly grant permission and link it. This is crucial for managing projects, scripts, and data.
First, install the Termux API package, which facilitates interaction with Android's functionalities:
pkg install termux-api -yThen, use the termux-setup-storage command. This will prompt you to allow Termux access to your device's storage. After granting permission, a ~/storage directory will be created in your Termux home directory, with symbolic links to your Pictures, Downloads, Documents, etc.
termux-setup-storageVerify access by navigating to the storage directory and listing its contents:
cd ~/storage
ls
Step 3: Deploying Your Core Toolkit - Essential Package Installations
With the foundation laid, it's time to install essential development and utility tools. These packages form the bedrock of your mobile computing environment.
01:00 - Installing Git: Version Control for Mobile Ops
Git is indispensable for tracking code changes, collaborating, and managing projects. Install it with:
pkg install git -yAfter installation, configure your Git identity:
git config --global user.name "Your Name"
git config --global user.email "your.email@example.com"
01:14 - Installing Python: The Swiss Army Knife of Scripting
Python is a versatile language used for scripting, web development, data analysis, and much more. Termux typically comes with Python, but ensure you have the latest version or install it if missing:
pkg install python -yVerify the installation:
python --version01:25 - Installing Node.js: Server-Side JavaScript on the Go
For JavaScript developers or those interested in server-side applications and build tools, Node.js is essential.
pkg install nodejs -yCheck its version:
node --version
npm --version
01:35 - Installing Wget: The Network Downloader
wget is a powerful command-line utility for downloading files from the internet. It supports various protocols and allows for recursive downloads.
pkg install wget -yOnce installed, you can use it to download files directly within Termux.
Step 4: Gaining Command Line Proficiency - Essential Linux Commands
Termux is a Linux environment. Mastering basic Linux commands is fundamental. While a full course is beyond this scope, familiarize yourself with these core utilities:
ls: List directory contents.cd: Change directory.pwd: Print working directory.mkdir: Create directories.rm: Remove files or directories.cp: Copy files and directories.mv: Move or rename files and directories.cat: Concatenate and display file content.grep: Search for patterns in text.man: Display the manual page for commands.
Your Mission: Spend time practicing these commands in different directories. Understand their options (e.g., ls -la) and how they interact. This practical experience is invaluable.
Step 5: Your Digital Workbench - Installing Text Editors
You'll need robust text editors for writing code and scripts. Termux offers several excellent options:
- Nano: A simple, user-friendly command-line editor.
pkg install nano -ypkg install vim -ypkg install emacs -yWe recommend starting with nano for ease of use and gradually exploring vim or emacs as your proficiency grows.
Step 6: Personalizing Your Operations - Customizing Termux
A personalized environment boosts productivity. Termux allows for significant customization:
- Color Schemes: Modify prompt colors and syntax highlighting. Many users opt for themes that mimic popular Linux distributions or coding environments.
- Shell Customization: Replace the default
shshell withbashorzshfor enhanced features like auto-completion and command history.
pkg install bash # or zsh
chsh -s bash # or zsh
You may need to restart Termux for the shell change to take effect.
PS1 variable) to display useful information like current directory, Git branch, or user.Explore community resources for popular .bashrc or .zshrc configurations.
Step 7: Unlocking Device Hardware - Install Termux:API
As mentioned in Step 2, termux-api is vital. It allows your Termux scripts to interact with your Android device's hardware and features:
- Accessing the camera
- Getting battery status
- Reading SMS messages (with user permission)
- Accessing location services
- Sending notifications
Install the associated Android app from F-Droid or the GitHub releases page, then use the command-line tools provided by the termux-api package within Termux.
Refer to the official Termux:API Wiki for detailed usage.
This integration dramatically expands the possibilities for mobile automation.
Step 8: Real-time System Monitoring - Manage Processes with Htop
Understanding what's running on your system is critical for performance tuning and security. htop is an interactive, real-time process viewer.
pkg install htop -yRun it with:
htophtop provides a visual overview of CPU and memory usage, allowing you to identify resource-intensive processes. It's a superior alternative to the basic top command.
Step 9: Visualizing the Matrix - Install CMatrix
For a touch of cyberpunk flair and a fun visual, install cmatrix. This program displays a falling characters effect similar to the one seen in "The Matrix".
pkg install cmatrix -yLaunch it with:
cmatrixIt's a simple way to add some aesthetic appeal to your terminal sessions.
Step 10: Navigating the Web from the Terminal - Browse Internet with w3m
Sometimes, you need to browse the web directly from the terminal. w3m is a text-based web browser that can render HTML pages.
pkg install w3m -yUse it to navigate websites:
w3m google.comWhile not a replacement for graphical browsers, it's incredibly useful for quick checks, scripting, or in environments without a GUI.
Step 11: Broadening Your Skillset - Install More Programming Languages
Termux is a gateway to many programming languages. Depending on your interests, consider installing:
- Ruby:
pkg install ruby -y - PHP:
pkg install php -y - Go:
pkg install golang -y - Rust: Check the Termux Wiki for up-to-date installation instructions, as it often requires manual compilation or specific toolchains.
Expanding your language repertoire makes your mobile setup more versatile.
Step 12: Organizing Your Digital Assets - Install a Termux File Manager
Besides the symbolic links in ~/storage, dedicated file managers can improve navigation within Termux. While command-line tools like ls, cp, and mv are powerful, a visual file manager can be beneficial.
Consider installing:
- Midnight Commander (mc): A classic orthodox file manager with an intuitive dual-pane interface.
pkg install mc -yRun it with mc.
These tools offer a more visual approach to file operations within the terminal environment.
Step 13: Beyond the Command Line - Install a GUI on Termux
For a full desktop experience on your Android device, you can install a lightweight desktop environment and access it via VNC. This is an advanced step but unlocks significant potential.
Commonly installed components include:
- XFCE Desktop Environment: A lightweight GUI.
- VNC Server: To remotely connect to the graphical session.
- X11 Applications: Browsers, text editors, etc., within the GUI.
This process typically involves installing multiple packages and configuring a VNC server. For a detailed walkthrough, consult dedicated guides like the video on installing a GUI in Termux.
This transforms your Android device into a portable Linux workstation.
The Arsenal of the Engineer
To further enhance your operations, consider these resources:
- Books: "The Linux Command Line" by William Shotts, "Violent Python" by TJ O'Connor.
- Platforms: GitHub (for code repositories), F-Droid (for FOSS apps, including Termux API clients), HackerNews (for tech discussions).
- Utilities: A reliable USB-C cable and a portable monitor/keyboard/mouse setup can greatly enhance the desktop experience.
Comparative Analysis: Termux vs. Alternatives
While Termux offers unparalleled flexibility on Android, other options exist:
- Linux Deploy / UserLAnd: These apps allow you to run full Linux distributions (like Ubuntu, Debian) on Android, often requiring root access or more complex setups. They provide a more traditional Linux environment but may have less seamless integration with Android features compared to Termux.
- Chroot Environments: Similar to Linux Deploy, these utilize chroot to isolate a Linux filesystem. They can be powerful but are generally more technical to set up.
- Cloud-Based Terminals (e.g., SSH to a VPS): Accessing a remote Linux server via SSH from your phone is common. This offers immense power but requires a separate server and stable internet.
Termux's Advantage: Its strength lies in its sandboxed nature, ease of installation without root, and excellent integration with Android functionalities via Termux:API. It's the go-to for quick scripting, development, and learning Linux on a mobile device.
Engineer's Verdict
Termux is not just a terminal emulator; it's a compact, powerful Linux environment that democratizes access to sophisticated tools and development environments on a device most people already carry. The initial setup outlined in this blueprint is crucial. Neglecting these steps leaves significant potential untapped. By systematically deploying these packages and understanding basic operations, you transform your Android phone or tablet into a capable tool for learning, development, and even system administration. The journey from installation to mastery is one of continuous learning and experimentation.
Frequently Asked Questions
- Q1: Do I need root access to use Termux effectively?
- No, root access is not required for most of Termux's core functionalities. The setup for storage access and Termux:API are designed to work without root, ensuring broader accessibility.
- Q2: How can I install graphical applications like a web browser?
- You can install text-based browsers like
w3mdirectly. For full graphical applications, you would typically set up a VNC server within Termux, as detailed in Step 13. This requires additional setup and resources. - Q3: Is Termux secure?
- Termux itself is generally secure, especially when installed from official sources like F-Droid. However, the security of your Termux environment depends on your practices: keeping packages updated (Step 1), using strong passwords, and being cautious about scripts you run are essential. Always be aware of the permissions granted to Termux:API.
- Q4: How do I manage files between Termux and my Android file system?
- Use the
~/storagedirectory created bytermux-setup-storage. You can copy, move, and access files from your Android device's storage directly from Termux, and vice-versa using Android's file manager pointing to the Termux home directory (usually/data/data/com.termux/files/home).
About The Author
The Cha0smagick is a seasoned digital strategist and polymath engineer with deep roots in cybersecurity and software development. Operating from the shadows of the digital realm, this entity transforms complex technical challenges into actionable blueprints and educational resources. With a pragmatic, no-nonsense approach forged in the crucible of high-stakes systems audits, The Cha0smagick delivers unparalleled insights, turning raw data into strategic assets.
This mission is complete. However, the learning cycle is perpetual. The digital landscape evolves hourly, and static knowledge becomes obsolete. Your commitment to continuous operational readiness is paramount.
Your Mission: Execute, Share, and Debate
This blueprint represents the foundational operations for mastering Termux. Now, it's your turn to translate this intelligence into practical application.
- Execute the steps outlined in this dossier. Don't just read; command.
- Share this intelligence within your network. Equip your allies with this knowledge. A well-informed operative strengthens the entire network.
- Engage in the debriefing below. What challenges did you encounter? What optimizations did you discover? Your field reports are invaluable.
Mission Debriefing
The effectiveness of this guide lies in its application and subsequent refinement through collective experience. Your feedback is crucial for future operations. Post your findings, questions, and insights in the comments section below. Let this be a collaborative space for evolving our mobile command capabilities.
If this blueprint has significantly enhanced your operational capacity, consider sharing it. The value of knowledge is amplified when disseminated strategically.
